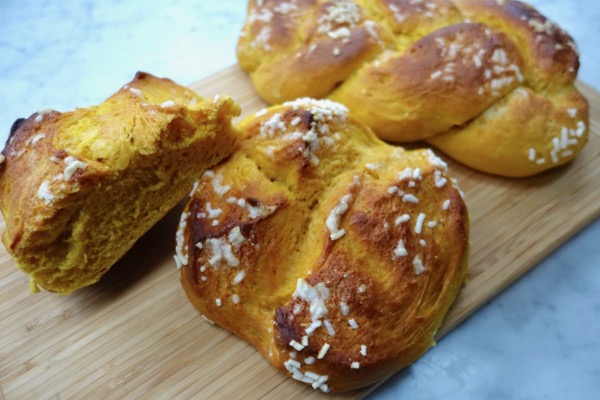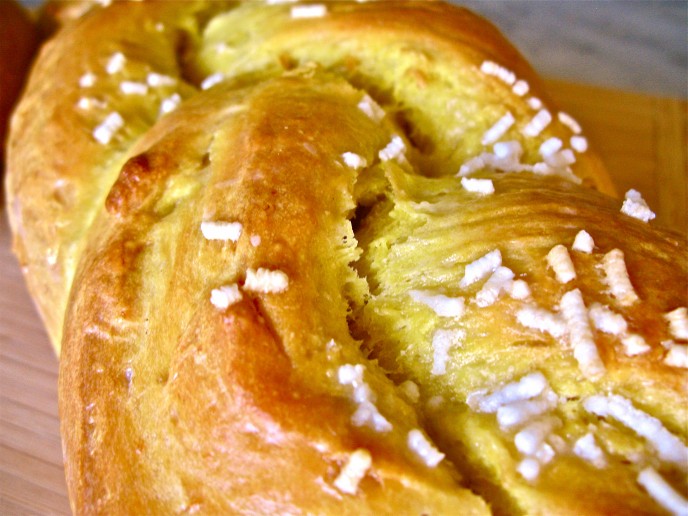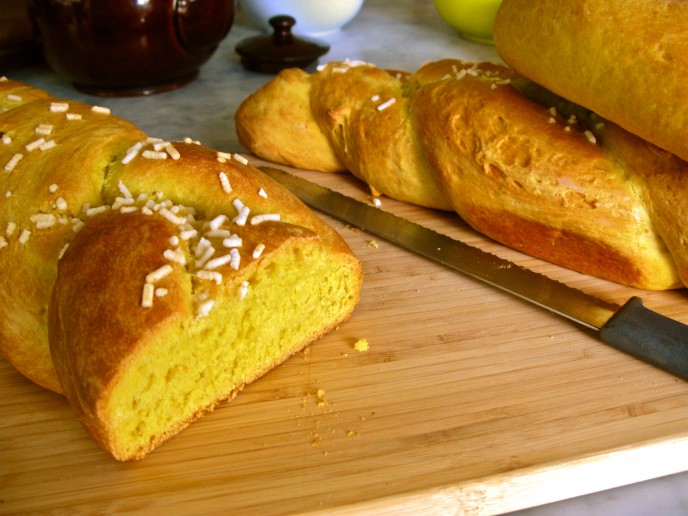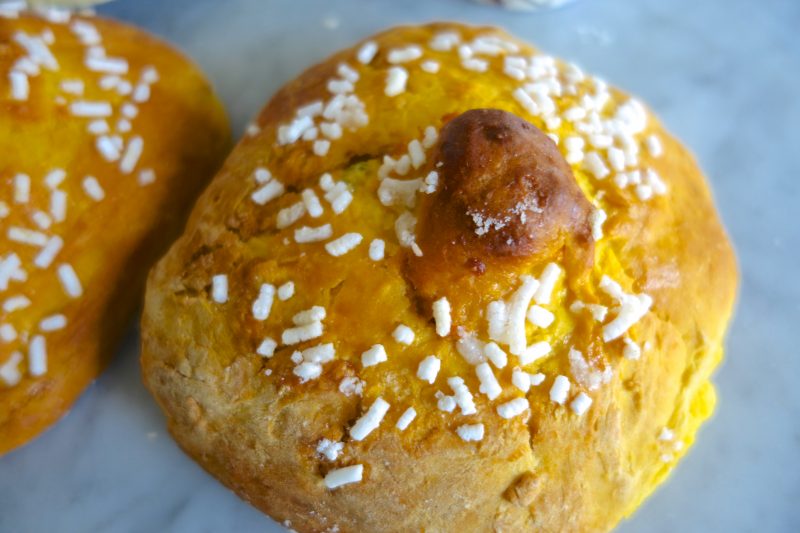


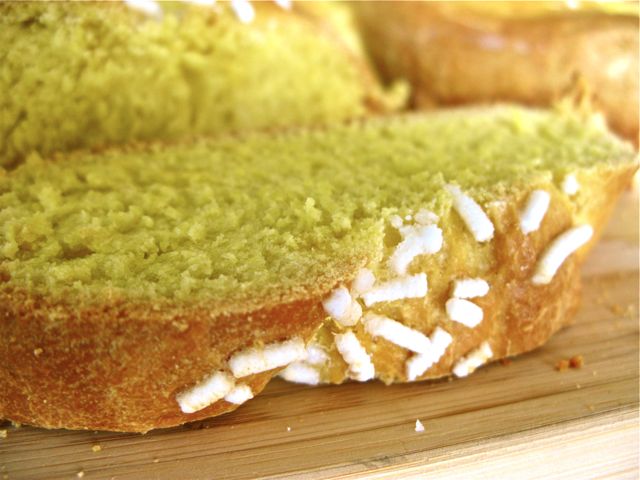
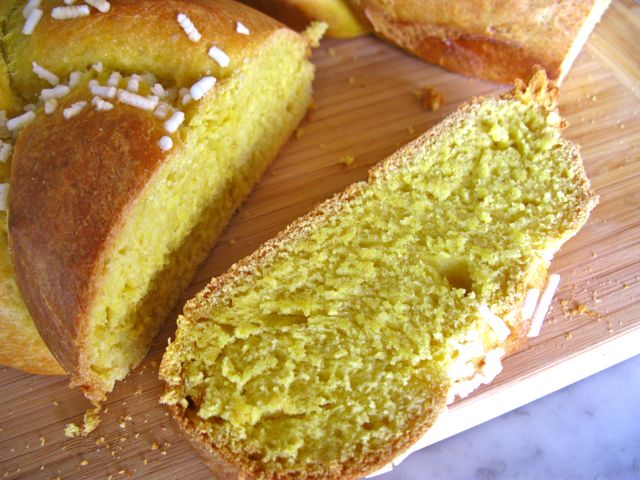
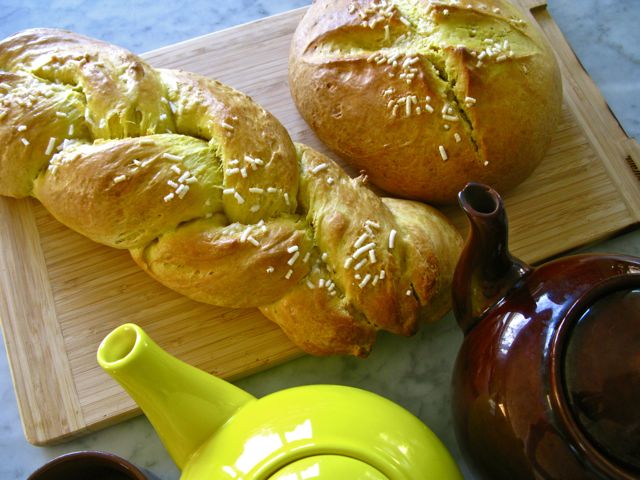

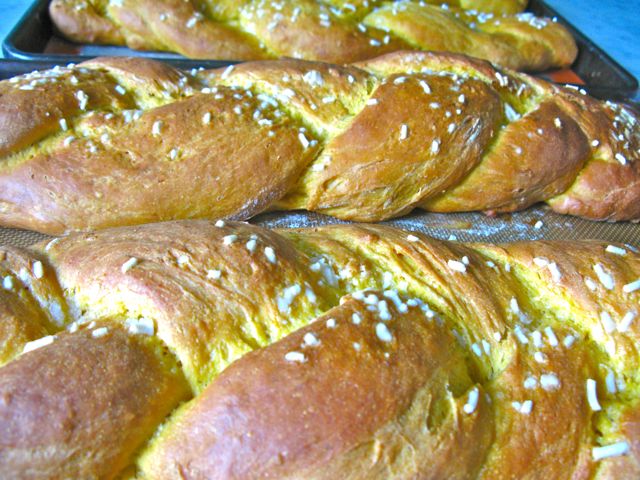
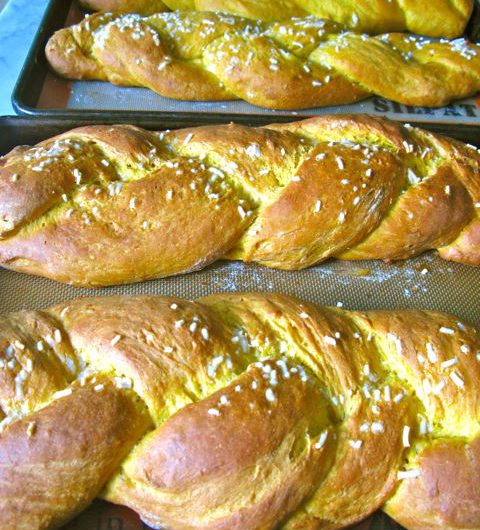


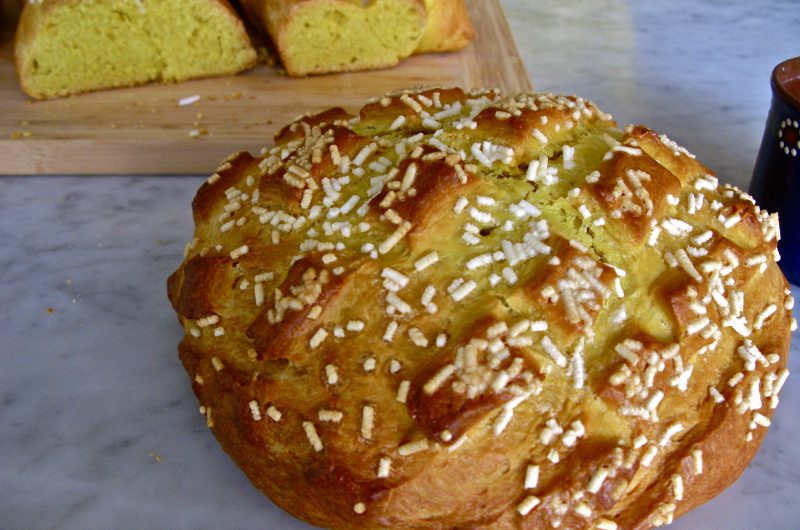
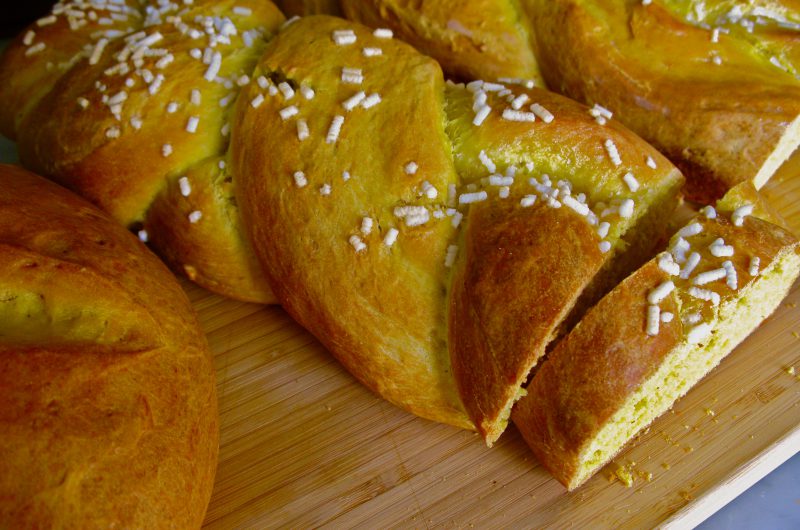
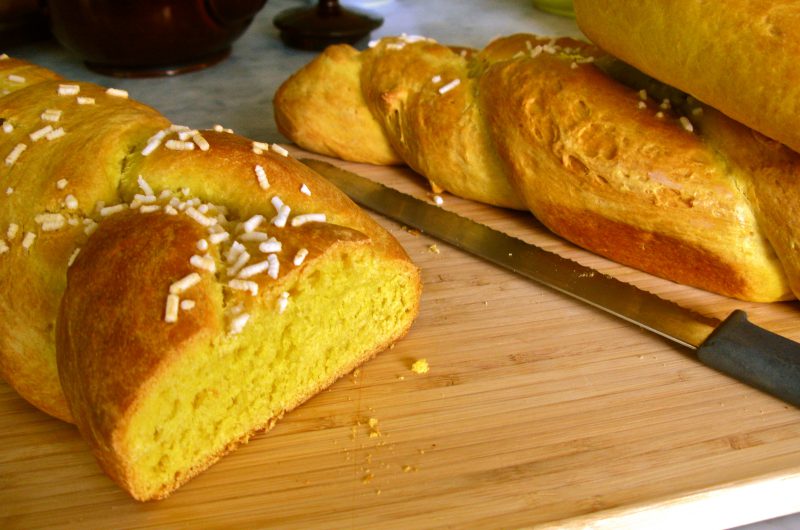


Can I say that I invented this recipe? As a little girl, who grew up in northern Italy, I remember enjoying a delicious bun made with “zucca” (pumpkin), covered with a glaze and sugar rocks on the top. It was a seasonal treat linked to the cold season. When I moved to US I noticed that there were several kinds of squash and pumpkins, all delicious and available most part of the year. One of my favorite was the Butternut Squash which I started using in many recipes. The bun became soon a braided bread after the beautiful Sabbath loaf. I named it the “Pumpkin Challah” and has been the #1 favorite of the Zordan family since then. Video Recipe on YouTube. photos by Coco Zordan
Ingredients
- Makes 2/4 loaves or more small buns
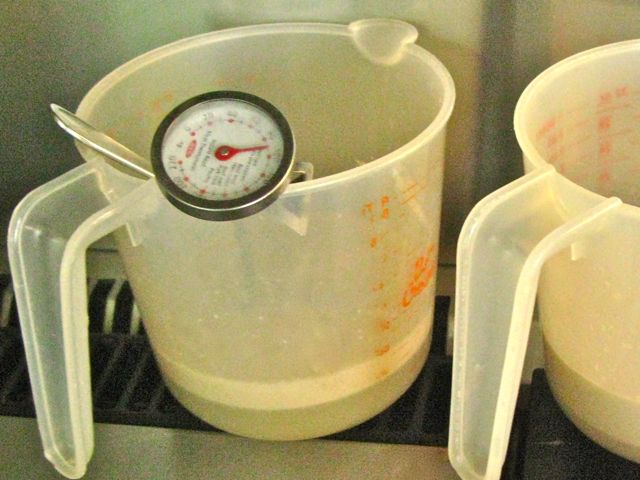
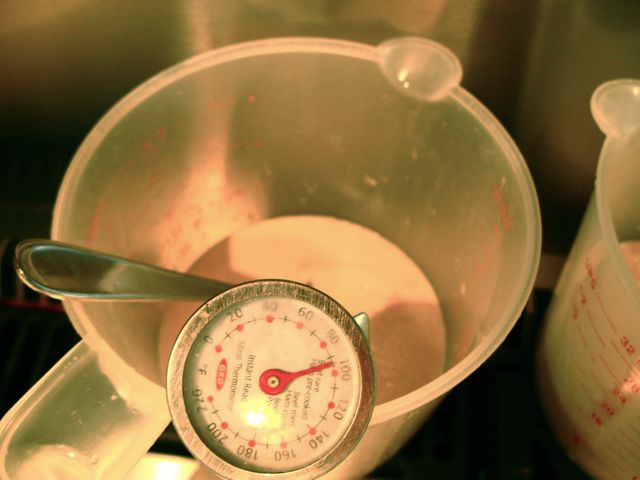
warm water (105 to 115 degrees F) 1/4 cup – 30 cl.
active dry yeast 2 tablespoons (almost 2 packages) 30 g
unbleached all-purpose or bread flour 8 cups = Kg 1.2
1 cup sugar (200 g) or honey (about 340 g)
baked and pureéd butternut squash (or pumpkin) 2 medium (lb 2) 800/1000 g
butter or olive oil 1 cup – 150 g
granulated sugar or honey – 30 g
eggs 4 whole
egg wash or milk for glazing
Directions
- MIXING THE DOUGH:
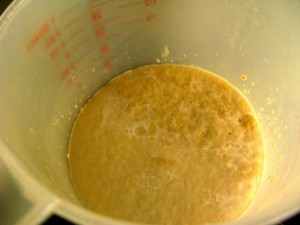
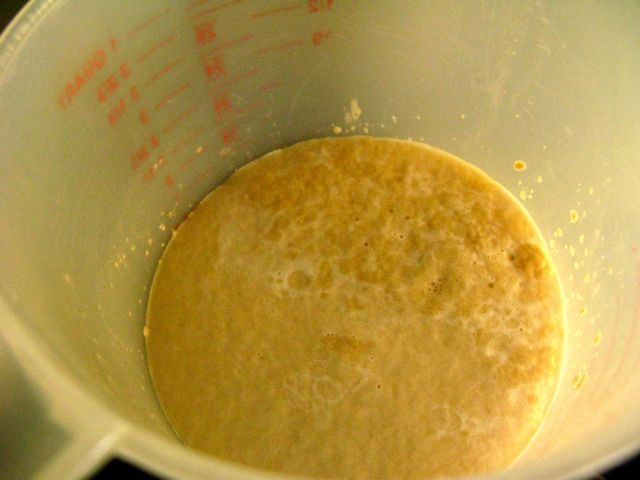
Pour 1/2 cup of warm water into a small bowl. Sprinkle yeast and sugar over the water surface. Stir to dissolve and let stand at room temperature until foamy, about 10 minutes.

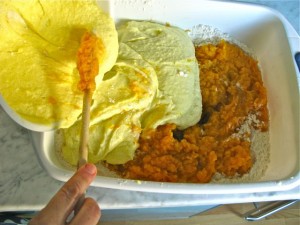
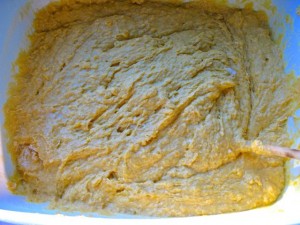
- Place 1 1/2 cups of the flour and salt in a large bowl. Make a well in the center of the flour and add the eggs, sugar, and oil. Using a balloon or dough whisk, beat vigorously for about 1 minute. Add the yeast mixture and beat vigorously for 1 minute more, or until dough comes together.


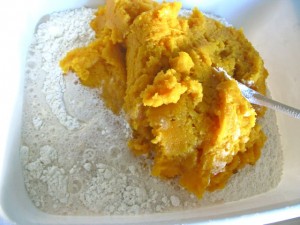
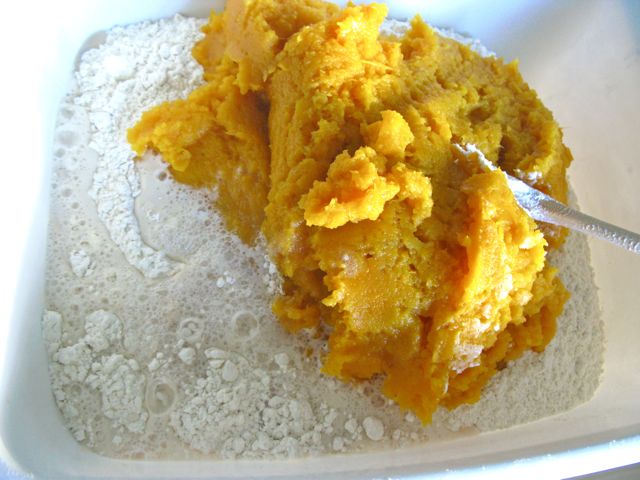
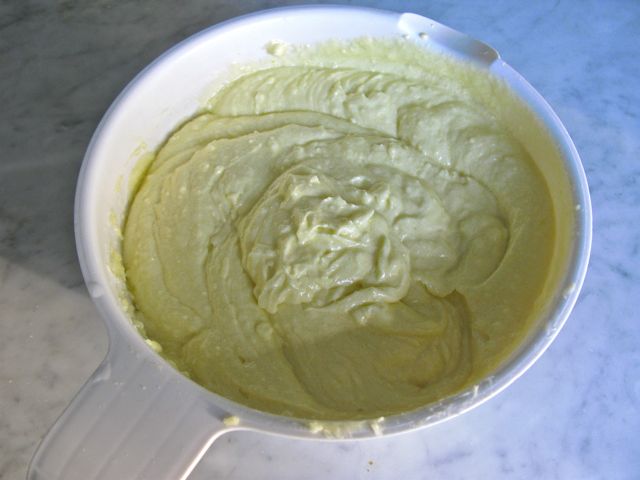
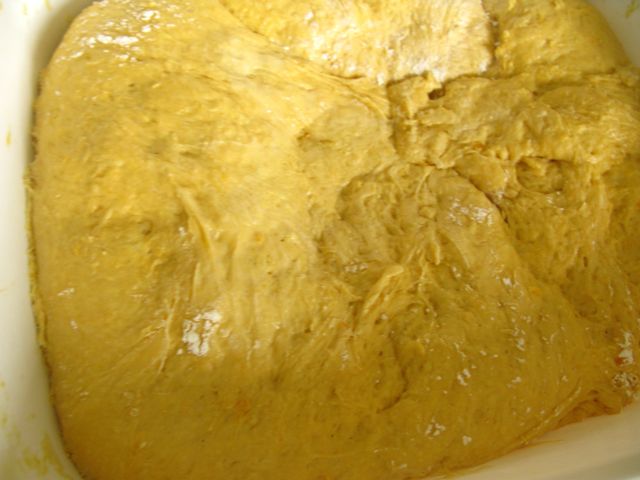
- Switch to a wooden spoon. Add pureed squash, the remaining flour, 1/2 cup at a time, until a soft, shaggy dough forms that just pulls away from the sides of the bowl.


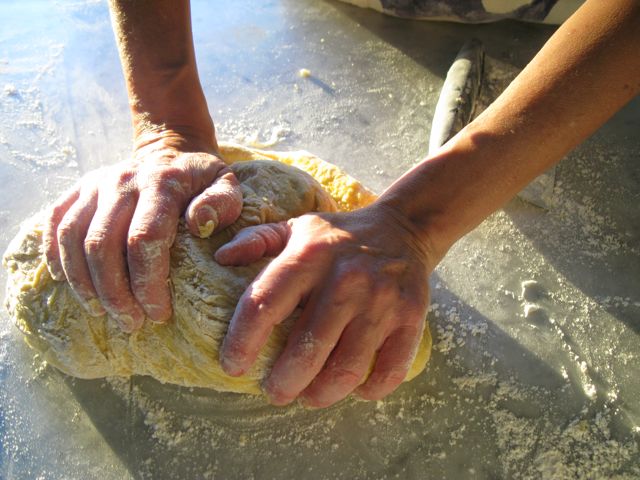
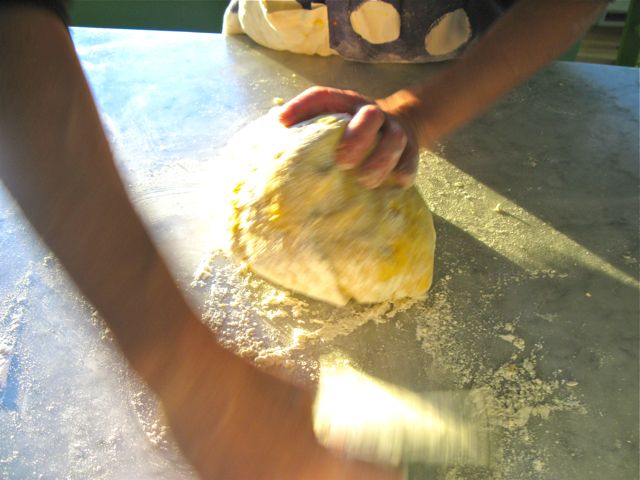
- KNEADING:
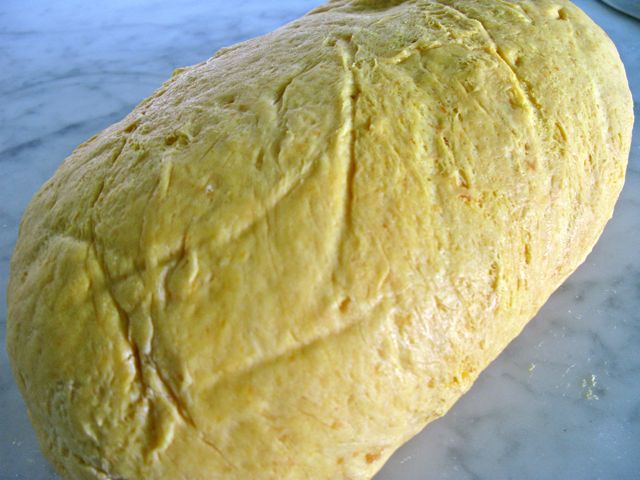
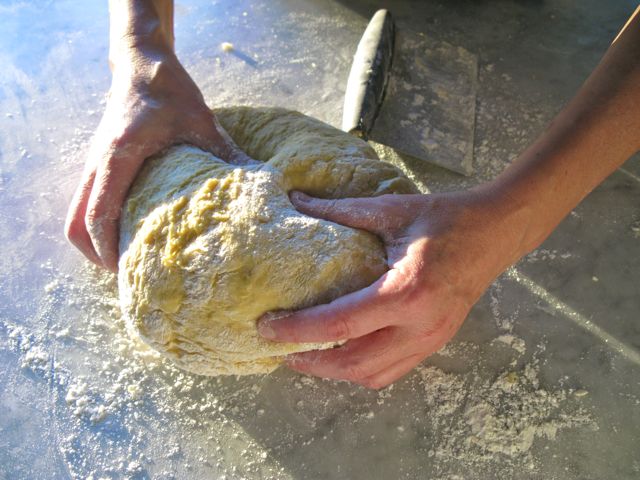
Turn the dough out onto a lightly floured work surface. Knead until firm yet still springy, about 5 to 7 minutes, dusting with flour 1 tablespoon at a time, just enough to prevent the dough from sticking to your hands and the work surface. This dough will be very smooth, have a soft elastic quality, but never stiff, and will hold its shape.


- RISING:
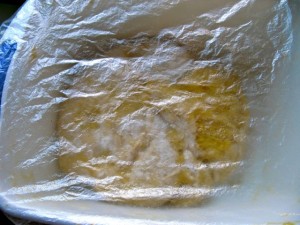
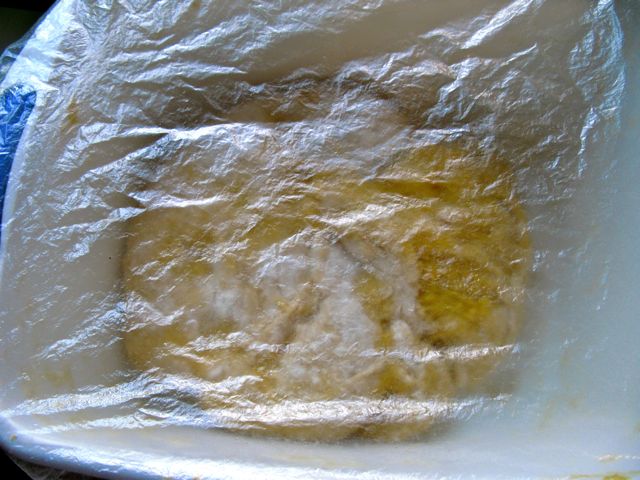
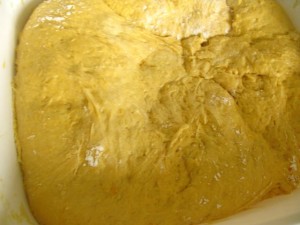
Place the dough ball in a greased deep container, such as a plastic rising bucket, turn once to grease the top, and cover loosely with plastic wrap.
Let rise at room temperature until double in bulk, 2 to 2 1/2 hours.
Gently deflate the dough by inserting your fist into its center, re-cover and let rise again until double in bulk, 1 to 1 1/2 hours. This second rise can be skipped, but the flavor is much nicer if you can give the dough the extra time.
- SHAPING THE DOUGH AND THE FINAL RISE:
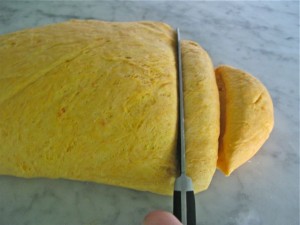
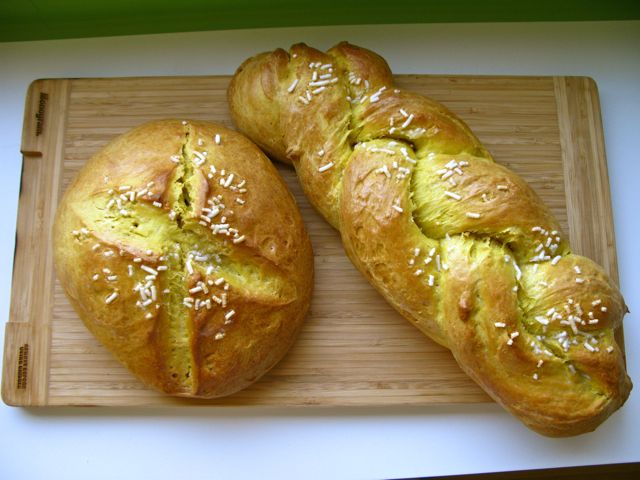
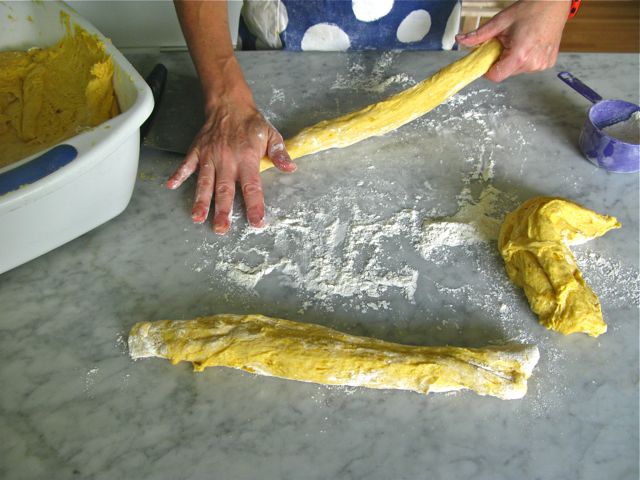
Turn the dough out onto a lightly floured work surface; it will naturally deflate as you do so. Lightly grease or line 2 baking sheets with parchment paper to prevent sticking. Without working the dough further, divide it into 3 equal portions if using the bread pans or 2 equal portions if making free-form loaves. Further divide each portion into 3 equal sections.
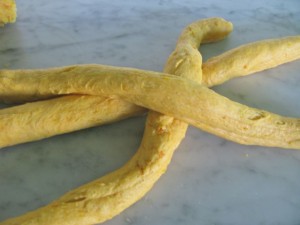
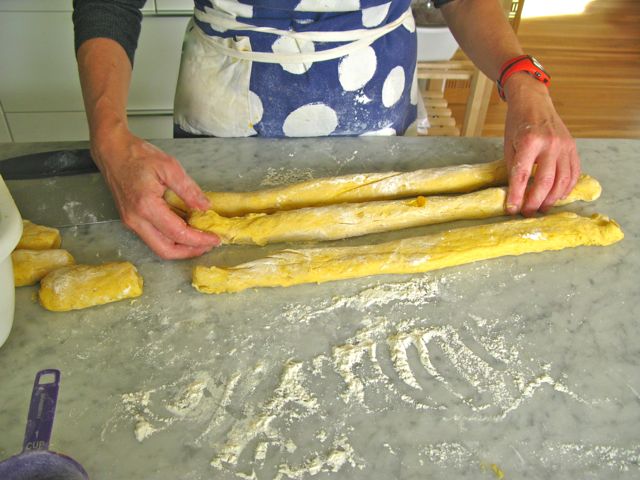
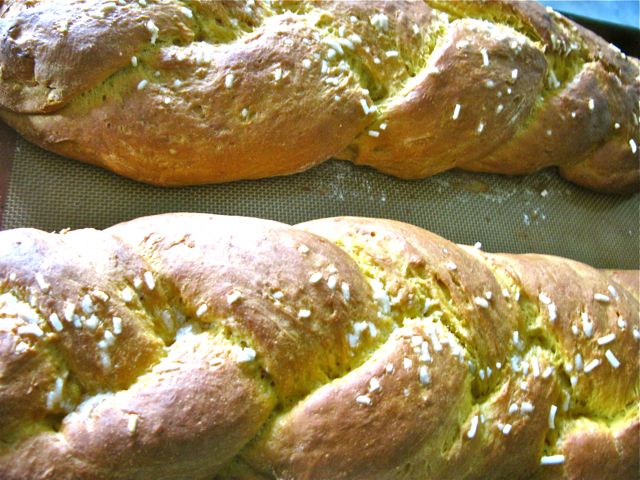
Using your palms, roll each section into a fat cylinder about 10 inches long for the pan loaves and about 16 inches for free-form loaves, which are tapered at each end. Be sure these ropes are of equal size and shape.

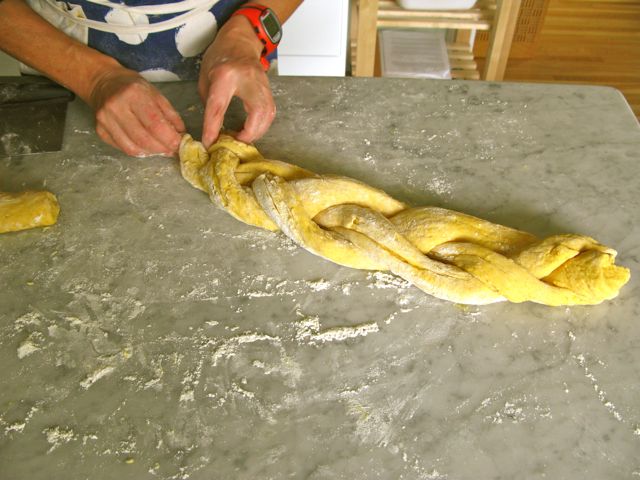
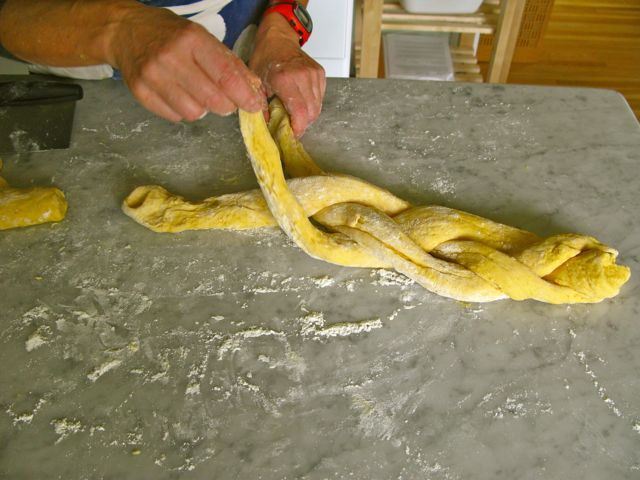
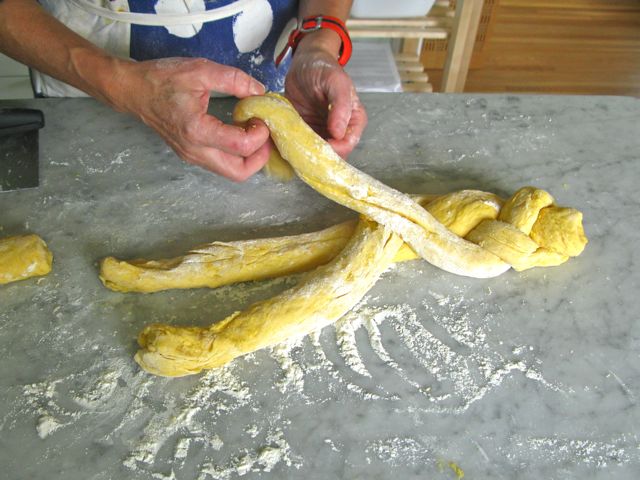
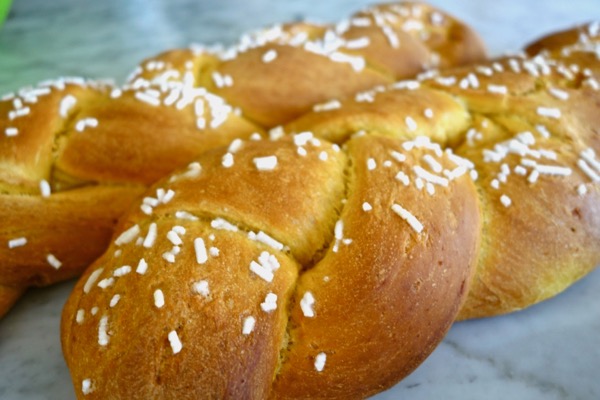
Place 3 ropes parallel to each other. Begin braiding, starting in the center rather than at the ends for a more even shape. Take one of the outside ropes and lay it over the center rope, then repeat the movement from the opposite side. Continue by alternating the outside ropes over the center rope. When one-half is braided, rotate the half-braid and repeat the procedure from the middle out to the other end. Adjust or press the braid to make it look even. Tuck the ends under and set into a loaf pan or place a loaf on one of the the baking sheet for free-form loaves, pinching the ends into tapered points.
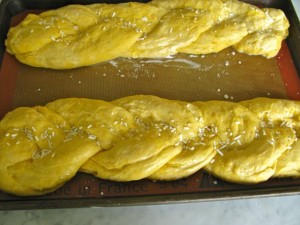
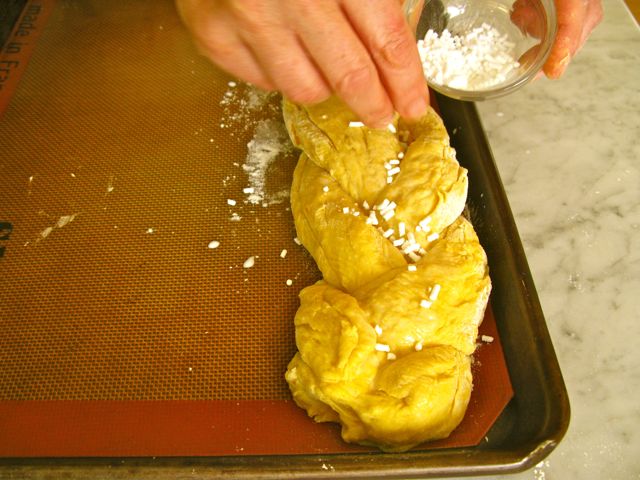
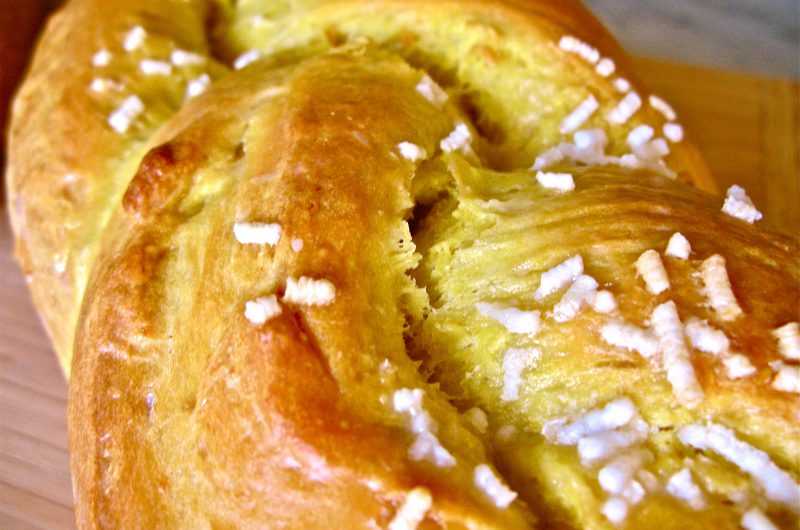
add sugar pearls
- PROOFING
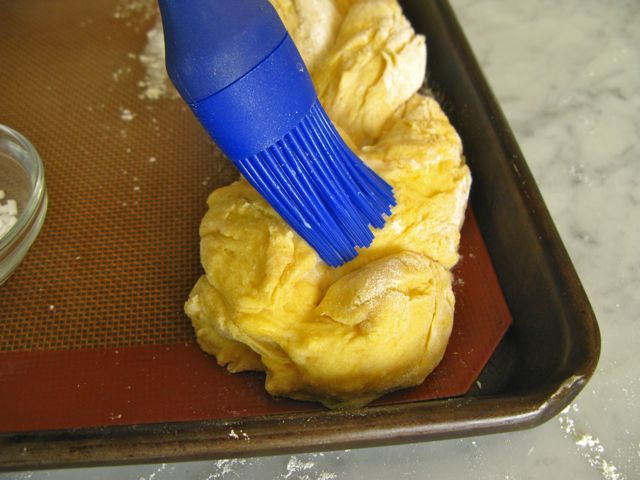
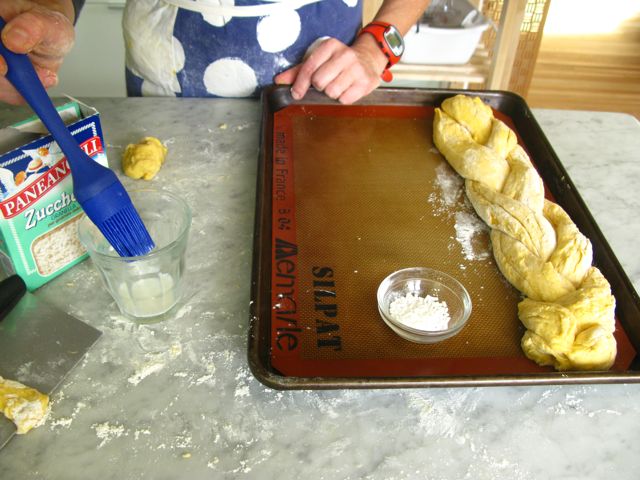
Beat the egg and the water glaze with a fork until foamy. Using a pastry brush, brush the tops of the loaves with some of the egg mixture. Do not let too much egg glaze drip down into the sides of the pan to prevent bread to stick to the liner. Refrigerate the extra glaze(you’ll need it later). Note: if you prefer you can use just milk to brush the tops. That’s what I usually do.
Cover the loaves loosely with plastic wrap and let rise at room temperature until the dough is almost double in bulk and about 1 inch over the rims of the pans, about 30/45 minutes. Note: you can skip this part and put the loaves immediately into the hot oven.


- BAKING, COOLING AND STORAGE:
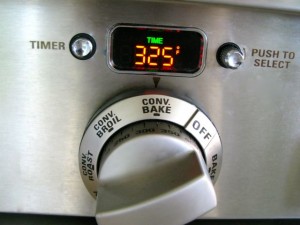
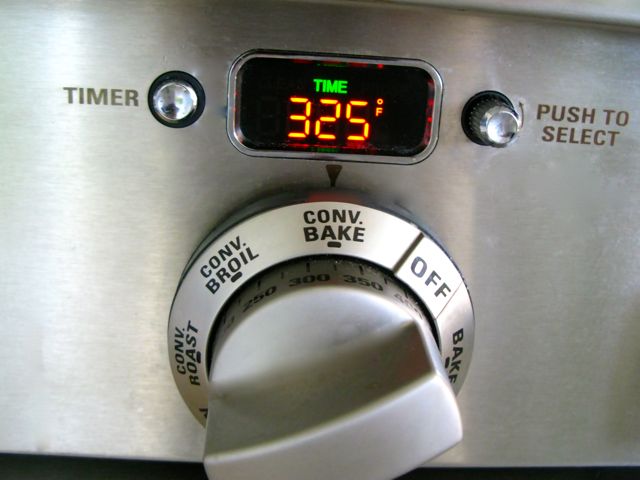
About 20 minutes before baking, place the oven rack in the middle of the oven and preheat the oven to 325 or 350 degrees F (325 degrees if using glass or if your oven is convection).
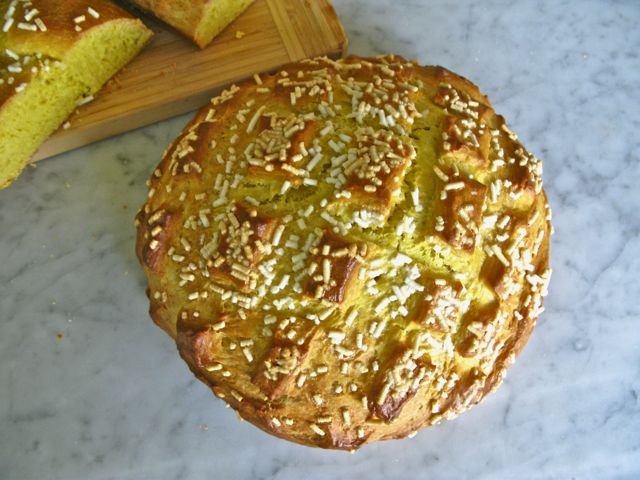
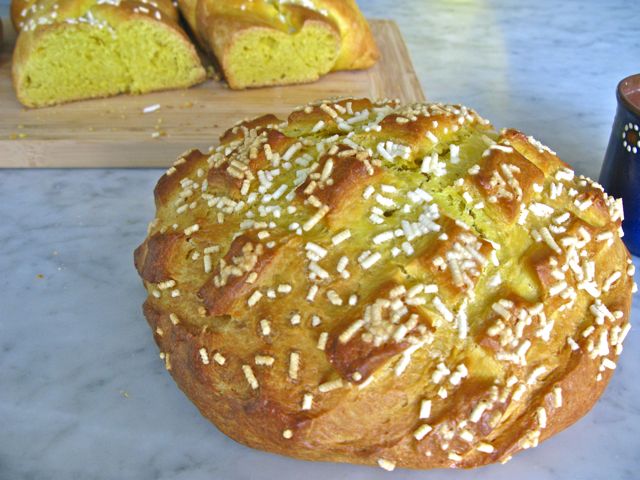
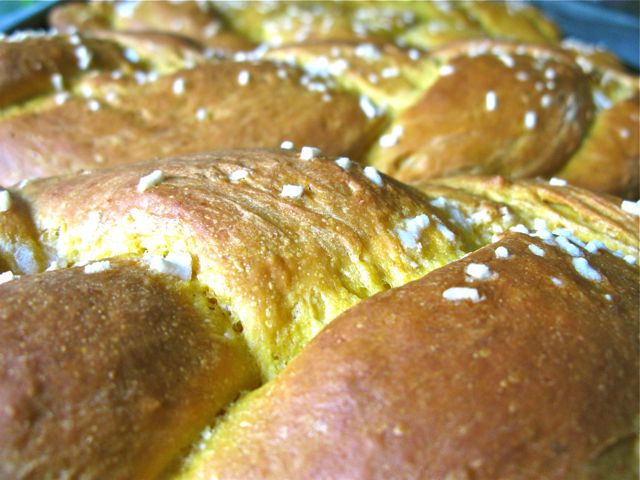
Brush the surface of the loaves a second time with the remaining egg glaze and sprinkle with the sugar rocks, or leave plain.


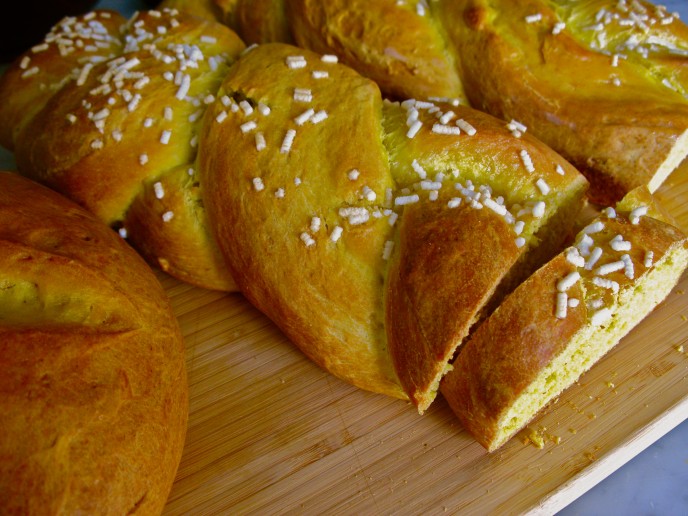
Bake for 40 to 45 minutes, or until the loaves are deep golden brown or until an inserted skewer toothpick comes out clean. The larger free-form loaves can bake an additional 5 to 10 minutes. Immediately remove the loaves from the pans and transfer to a cooling rack. Let cool to room temperature before slicing.

 Bake for 40 to 45 minutes, or until the loaves are deep golden brown. The larger free-form loaves can bake an additional 5 to 10 minutes. Immediately remove the loaves from the pans and transfer to a cooling rack. Let cool to room temperature before slicing.
Store wrapped in wax paper inside a plastic food-storage bag in the fridge up to a week or in the freezer for 4-6 months. If coming from the fridge, the bread will be kind of hard (especially if you used butter, that tends to harden when cold) spray it with a bit of water before toasting or warming up to refresh.