Jump to Recipe

Italian Breadsticks – Grissini!

cake

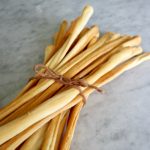
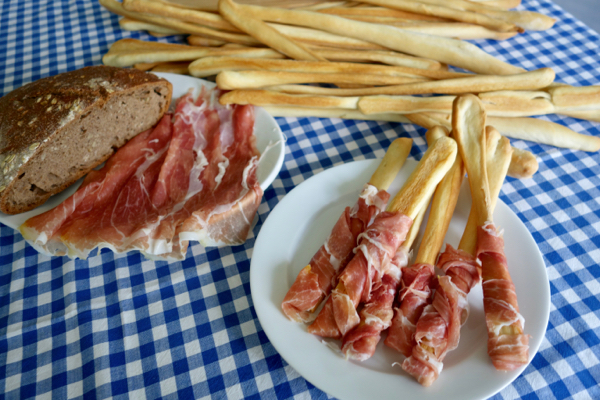
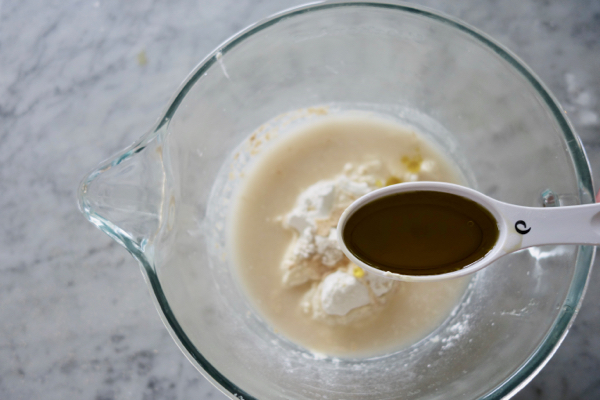
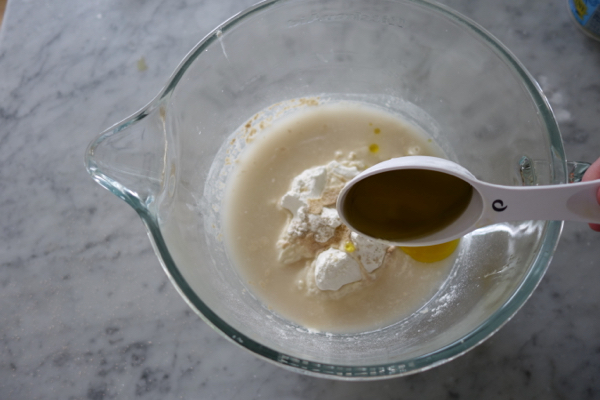
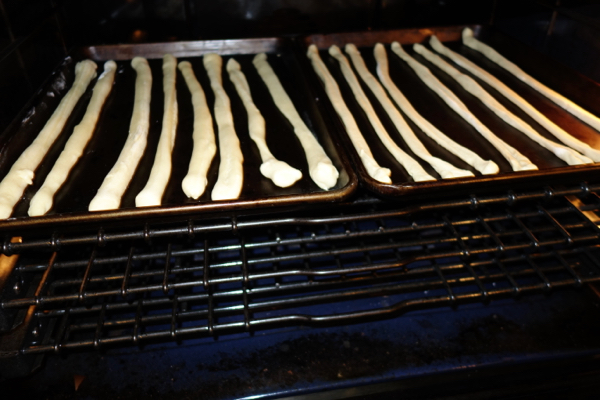
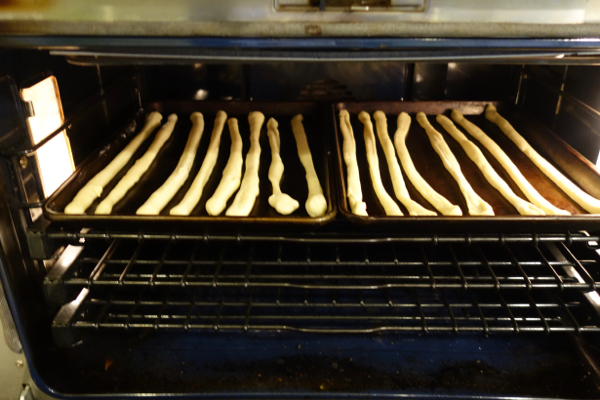
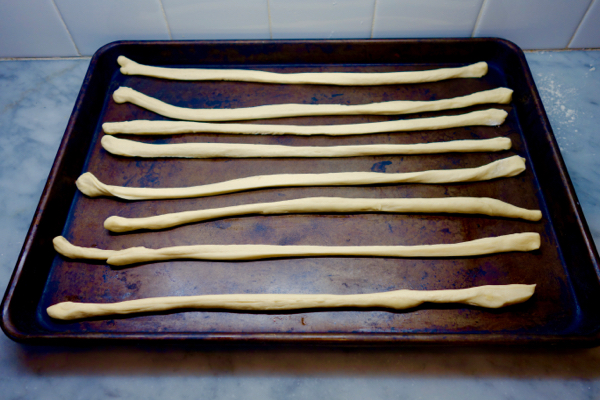
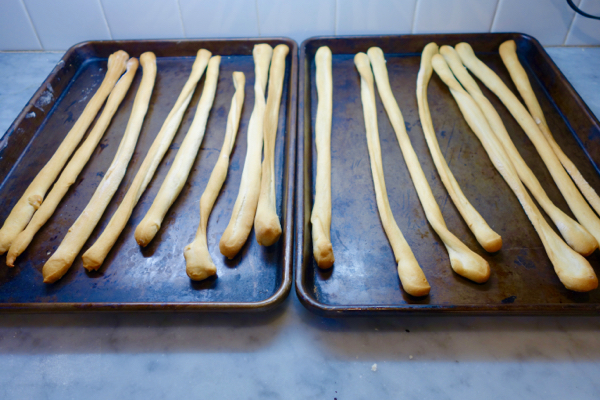
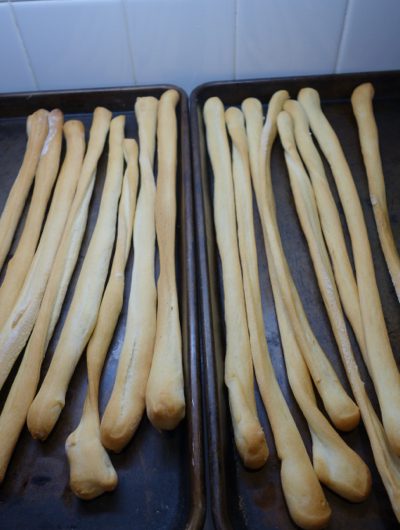
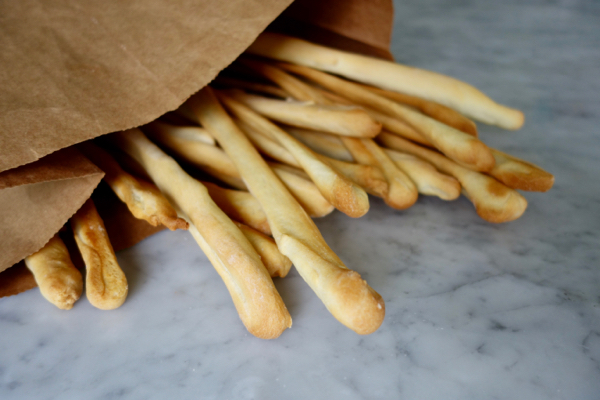
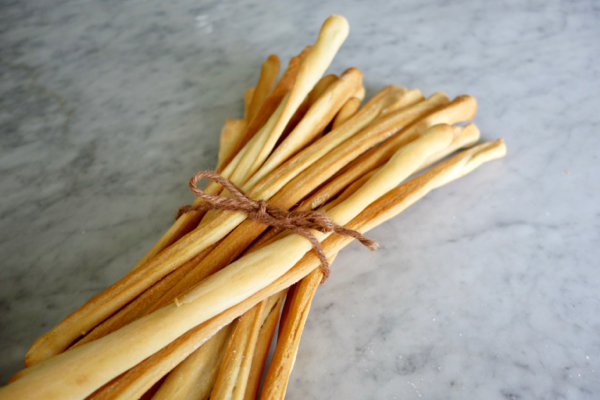
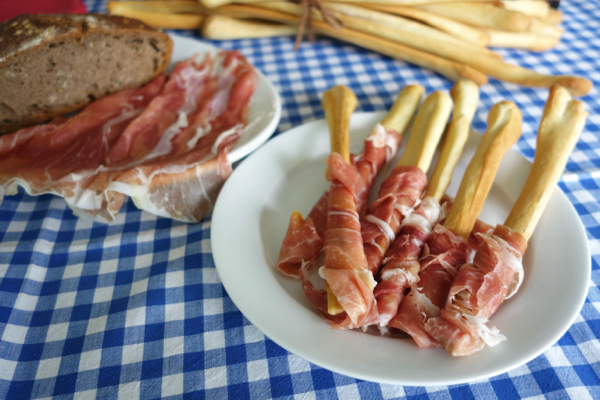
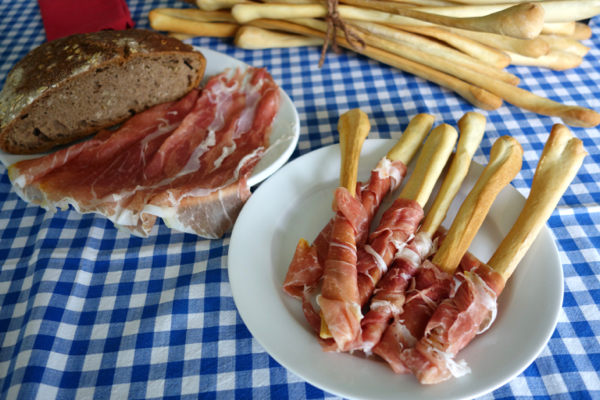
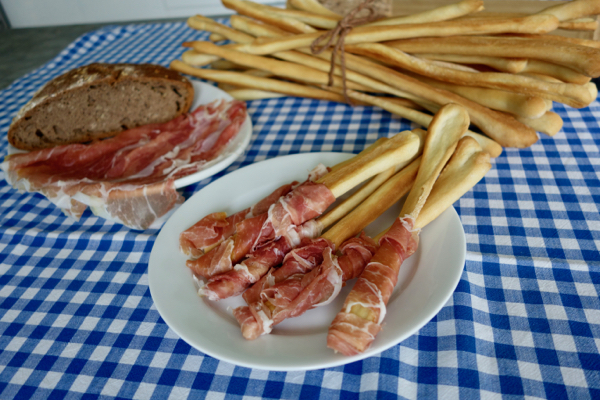
These grissini are a wonderful snack, antipasto (if served with ham or cheese), a delicious bread substitute and a smart idea for your kids’ and picnic lunchbox,

A bit of history: Grissini, or Traditional Italian Bread Sticks, originated in Torino (Turin) in Piemonte, a region of northwest Italy. Grissini were actually invented around the end of the 17th century to cure the health problems of young Duke Vittorio Amedeo II of Savoy.

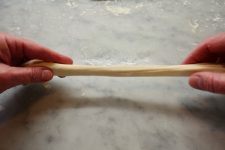
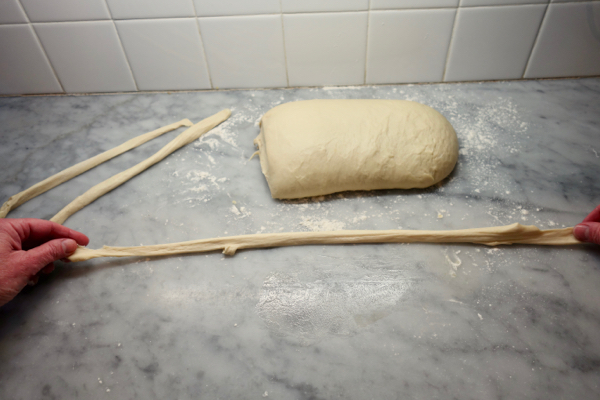
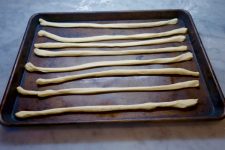
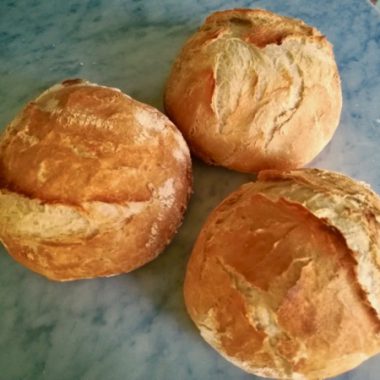
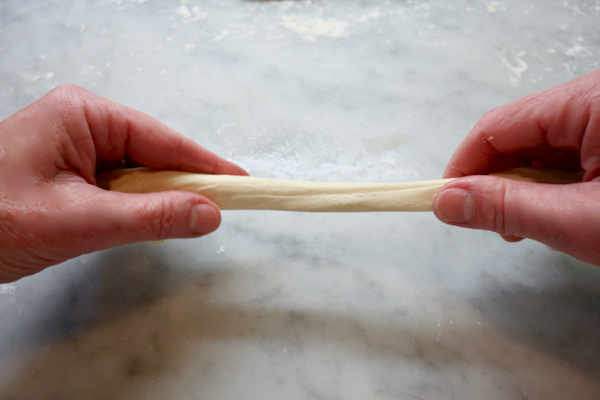
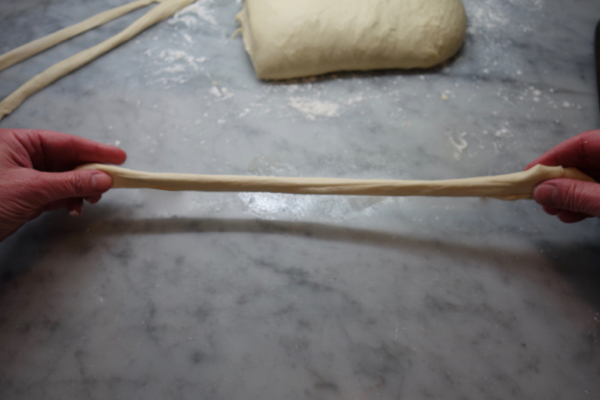
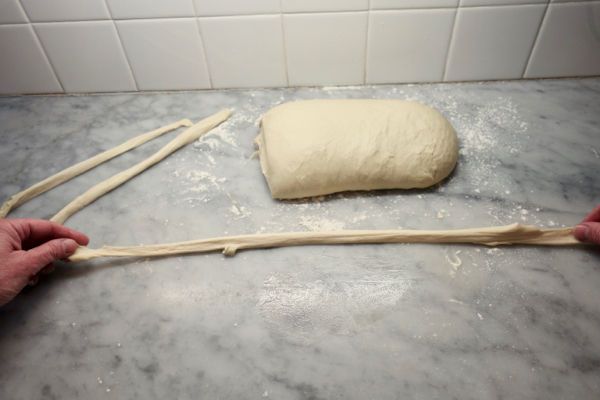
The duke had difficulty digesting most foods and the court doctor commissioned a baker from Torino, Antonio Brunero, to create something that the young duke could digest. Antonio decided to take a part of the dough used to make ghersa, a typical bread of Torino, and stretch it out into long, thin strips. Once baked, the thin bread sticks were crisp and easy to digest. His creation was a great success and became so popular, it entered the daily life of the Torinesi – and later the whole of Italy. [http://www.claudiosspecialtybreads.com/history.html]photos coco zordan

TRIVIA: There’s this way of saying in italian: ” magra come un grissino” “you are as thin as a breadstick”, and there was a time when people would reduce bread consumption in favor of grissini thinking that they were less caloric. Probably not true but these grissini are a wonderful snack, antipasto (if served with ham or cheese), a delicious bread substitute and a smart idea for your kids’ and picnic lunchbox.


The Recipe

Ingredients

  • 3 1/2 c. unbleached flour

  • 1 c. water (+ 1 or 2 Tbs if necessary)

  • 1/2 Tbs yeast

  • 1/2 Tbs sea salt

  • 1/4 c. + 2 Tbs XVOO

  • 1 tsp barley malt or honey

  • more olive oil for brushing

Directions

  1. In the bowl of an electric mixer fitted with a hook attachment, combine flour, yeast, 1 c. water, extra virgin olive oil, barley malt, and salt. If batter is too dry add 1 Tbs of water.DSC06137 DSC06142 DSC06146 DSC06152
  2. Knead until you get a smooth and dense dough – for about 8-10 minutes.
    DSC06159 DSC06162DSC06164
  3. Transfer the dough to a slightly floured work surface, shape it into a 4×12 inch loaf, as regular as possible, brush with oil on top and sides, cover it with an upside down bowl.

    DSC06168 DSC06172 DSC06176 (1) 

  4. let it rise for 50/60 minutes. Preheat the oven to 425 degrees F and prepare your baking sheets.
  5. Cut a 1.5 cm (1/2-inch) thick piece of dough from the shorter side of the rectangle.
    Stretch the dough gently with your hands, starting from the center and tugging towards the ends until it is the length of the baking sheet, about 20 inches.
    DSC06188

    DSC06195 DSC06192

    DSC06197  
  6. Repeat with the remaining dough, spacing the breadsticks about 1 inch apart as they will rise a bit more while baking.
  7. Bake for about 18-20 minutes then transfer to a cooling rack to cool.

    DSC06203 DSC06211

  8. Serve with cheese or prosciutto.
    DSC06220 DSC06224
  9. Store in an airtight container or in a paper bag for a week… if they’ll last so long 🙂

Don’t miss a recipe!

No spam is sent: only fresh recipes. unsibscribe at any time with 1 click.