Making a fresh batch of starter is as easy as stirring together some flour and water and letting it sit. Yes!!
You’ll need just flour, water, and a little bit of patience. Here is how to make your own sourdough starter from scratch. Easy-peasy.😀
But what is a Sourdough Starter? “A sourdough starter is created by mixing flour and water, and then allowing the microorganisms — wild yeasts and bacteria — that live in the flour and air to thrive and multiply. Over time, a stable population of these microorganisms develops. When used in bread, the microorganisms perform fermentation reactions, producing the gas that makes the dough rise and the molecules that give it flavor. These flavor molecules are different than those produced by commercial yeast. <read more…>
Ingredients (adapted from the KITCHEN.com)
TO BEGIN YOUR STARTER
1 Tbs or 8g whole wheat flour (or whole rye flour)
2 tsp or 8g water
- TO FEED YOUR STARTER
whole wheat flour (or whole rye flour) + unbleached all-purpose flour
filtered water
Directions
- Day 1: Make the Initial Starter
1 Tbs or 8g whole wheat flour (or whole rye flour)
2 tsp or 8g water - Weigh or measure the flour and water, and combine in a glass or plastic container (not metal). Stir vigorously until combined into a smooth batter. It will look like a sticky, thick dough. Scrape down the sides and loosely cover the container with plastic wrap or a clean kitchen towel or a dish.


- Place the container somewhere with a consistent room temperature of 70°F to 75°F (like the top of the refrigerator) and let sit for 24 hours.

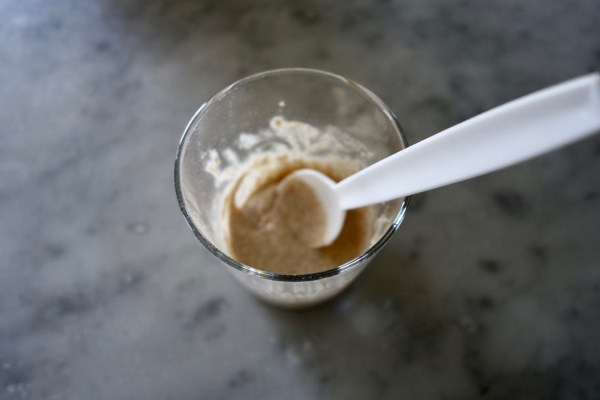
- Day 2: Feed the Starter
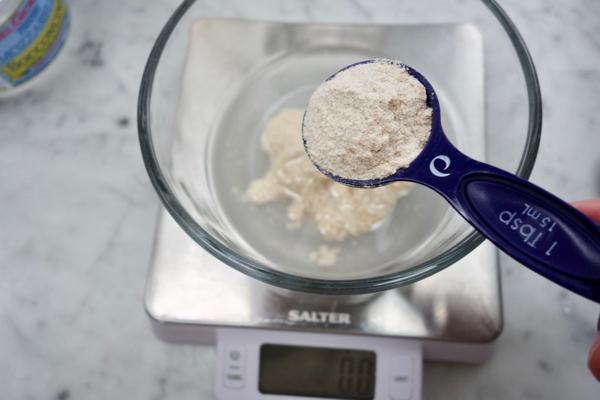
2 Tbs or 15g whole wheat flour (or whole rye flour)
1 Tbs or 15g water - Take a look at the starter. You may see a few small bubbles here and there. This is good! The bubbles mean that wild yeast have started making themselves at home in your starter. They will eat the sugars in the the flour and release carbon dioxide (the bubbles) and alcohol. They will also increase the acidity of the mixture, which helps fend off any bad bacterias. At this point, the starter should smell fresh, mildly sweet, and yeasty.
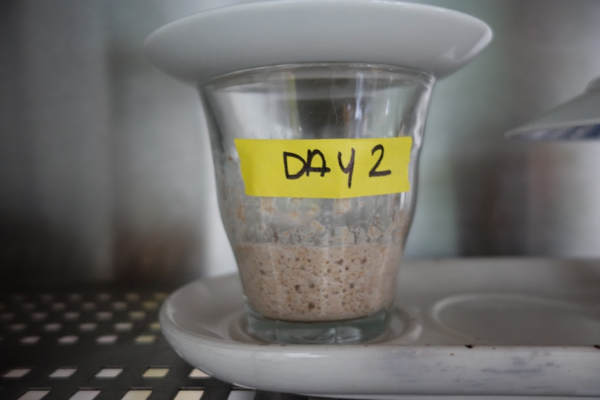
- If you don’t see any bubbles yet, don’t panic — depending on the conditions in your kitchen, the average room temperature, and other factors, your starter might just be slow to get going.
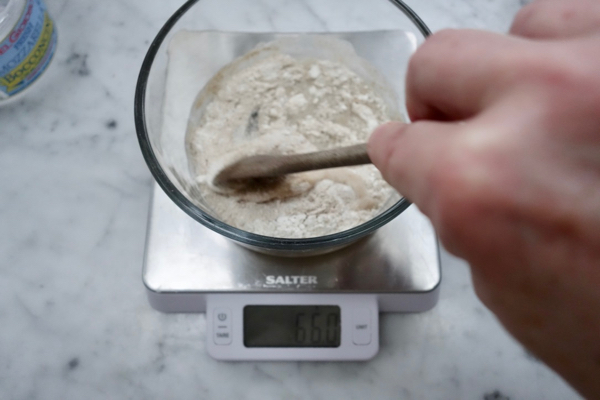
- Weigh or just measure the flour and water for today, and add them to the starter. Stir vigorously until combined into a smooth batter. It will look like a sticky, thick dough. Scrape down the sides and loosely cover the container with the plastic wrap or kitchen towel or dish again. Place the container somewhere with a consistent room temperature of 70°F to 75°F (like the top of the refrigerator) and let sit for 24 hours.
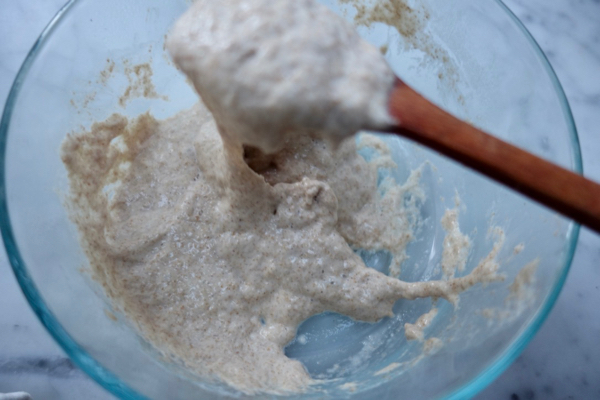
- Day 3: Feed the Starter
4 scant Tbs or 30g whole wheat flour (or whole rye flour)
2 Tbs or 30g water
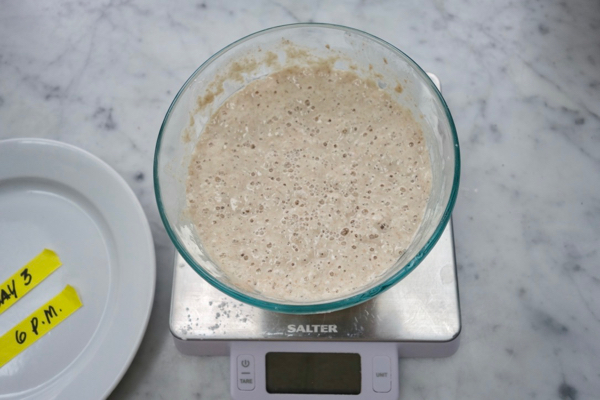
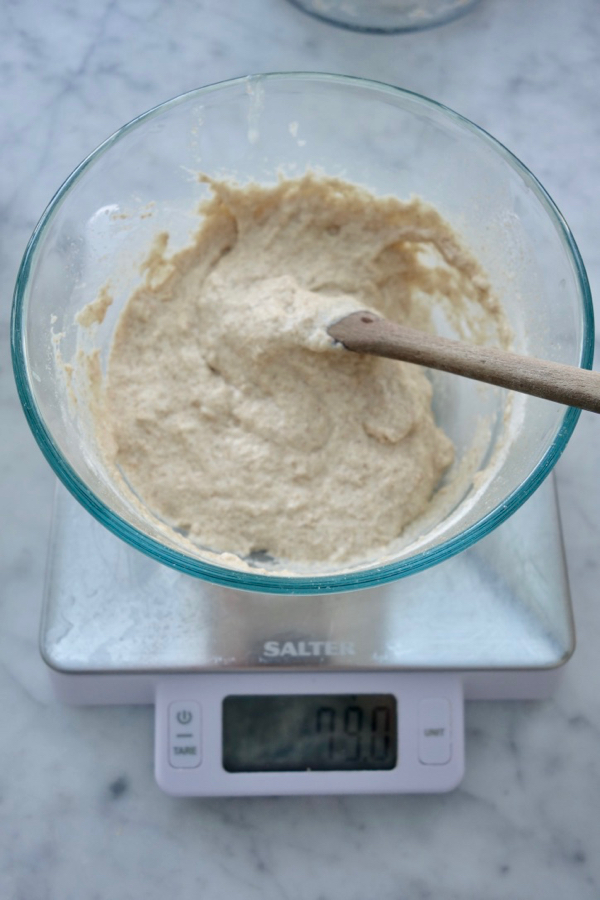
- Check your starter. By now, the surface of your starter should look dotted with bubbles and your starter should look visibly larger in volume. If you stir the starter, it will still feel thick and batter-like, but you’ll hear bubbles popping. It should also start smelling a little sour and musty. Again, if your starter doesn’t look quite like mine in the photo, don’t worry. Give it a few more days. My starter happened to be particularly vigorous!
- At this point, if you haven’t done it yet, you might want to move your starter to a bigger container. Weigh or just measure the flour and water for today, and add them to the starter. Stir vigorously until combined into a smooth batter. It will look like a sticky, thick dough. Scrape down the sides and loosely cover the container with the plastic wrap or kitchen towel or dish again. Place the container somewhere with a consistent room temperature of 70°F to 75°F (like the top of the refrigerator) and let sit for 24 hours.
- Day 4: Feed the Starter
4 Tbs or 30g whole wheat flour (or whole rye flour) + 4 Tbs or 30g unbleached all-purpose flour (total flour: 60g)
4 Tbs or 60g water
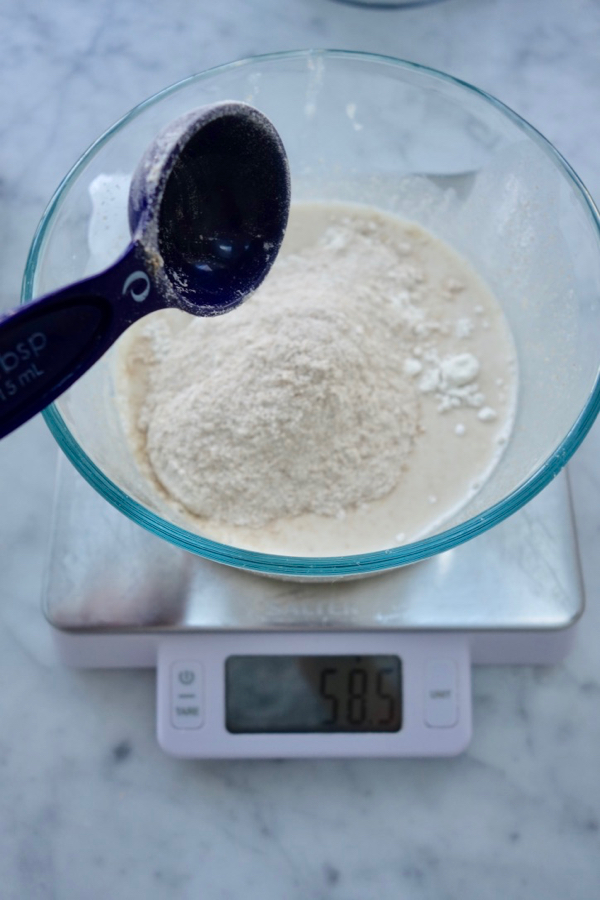
- Check your starter. By now, the starter should be looking very bubbly with large and small bubbles, and it will have doubled in volume. If you stir the starter, it will feel looser than yesterday and honeycombed with bubbles. It should also be smelling quite sour and pungent. You can taste a little too! It should taste sour and somewhat vinegary.
- When I made my starter here, I didn’t notice much visual change from Day 3 to Day 4, but could tell things had progress by the looseness of the starter and the sourness of the aroma.
- Today is you start mixing the whole wheat or rye flour with unbleached all-purpose flour. Weigh or just measure the flour and water for today, and add them to the starter. Stir vigorously until combined into a smooth batter. It will look like a sticky, thick dough. Scrape down the sides and loosely cover the container with the plastic wrap or kitchen towel secured again. Place the container somewhere with a consistent room temperature of 70°F to 75°F (like the top of the refrigerator) and let sit for 24 hours.
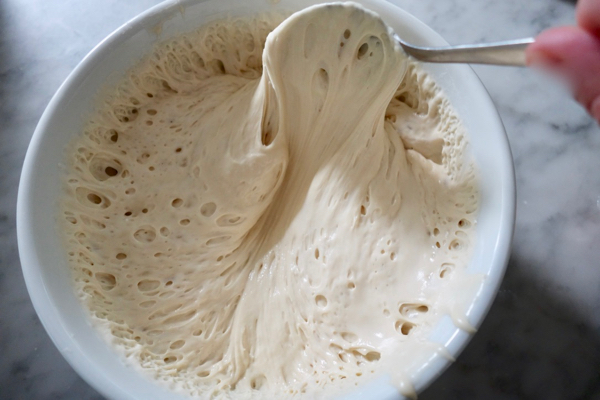
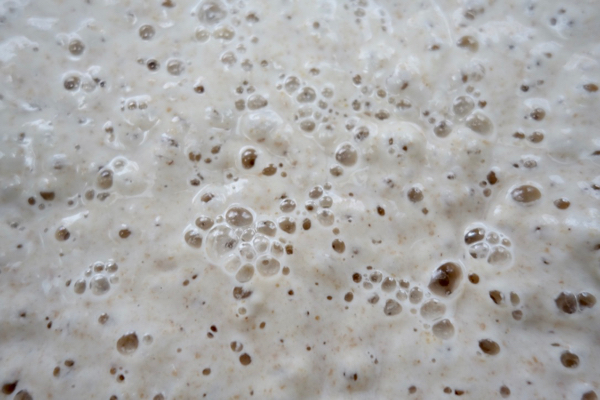
- Day 5: Starter is Ready to Use
Check your starter. It should have doubled in bulk since yesterday. By now, the starter should also be looking very bubbly — even frothy. If you stir the starter, it will feel looser than yesterday and be completely webbed with bubbles. It should also be smelling quite sour and pungent. You can taste a little too! It should taste even more sour and vinegary.
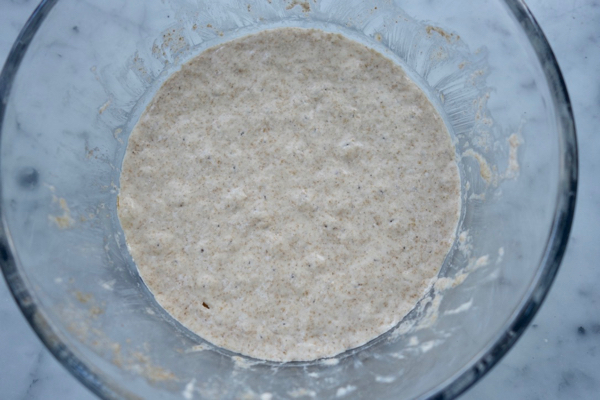
- If everything is looking, smelling, and tasting good, you can consider your starter ripe and ready to use! If your starter is lagging behind a bit, continue on with the Day 5 and Beyond instructions.
- Day 5 and Beyond: Maintaining Your Starter
4 ounces or 115g starter (about one cup)
4 ounces or 115g all-purpose flour (3/4 cup + 2 tablespoons)
4 ounces or 115g water (1/2 cup) - Once your starter is ripe (or even if it’s not quite ripe yet), you no longer need to bulk it up. To maintain the starter, discard (or use) about half of the starter and then “feed” it with new flour and water: weigh the flour and water, and combine them in the container with the starter. Stir vigorously until combined into a smooth batter.
- If you’re using the starter within the next few days, leave it out on the counter and continue discarding half and “feeding” it daily. If it will be longer before you use your starter, cover it tightly and place it in the fridge. Remember to take it out and feed it at least once a week — I also usually let the starter sit out overnight to give the yeast time to recuperate before putting it back in the fridge.
- Maybe you don’t need all the starter we’ve made here on an ongoing basis. That’s fine! Discard half the starter as usual, but feed it with half the amount of flour and water. Continue until you have whatever amount of starter works for your baking habits.
- How to Take a Long Break from Your Starter
If you’re taking a break from baking, but want to keep your starter, you can do two things:
1) Make a Thick Starter: Feed your starter double the amount of flour to make a thicker dough-like starter. This thicker batter will maintain the yeast better over long periods of inactivity in the fridge.
2) Dry the Starter: Smear your starter on a Silpat and let it dry. Once completely dry, break it into flakes and store it in an airtight container. Dried sourdough can be stored for months. To re-start it, dissolve 1/4 cup of the flakes in 4 ounces of water, and stir in 4 ounces of flour. Continue feeding the starter until it is active again.