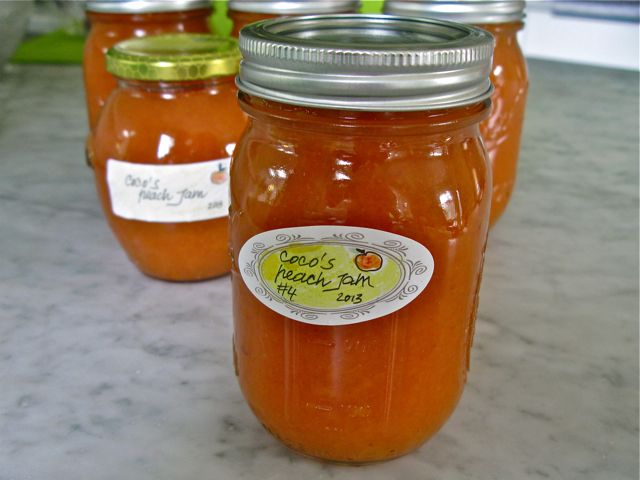
An easy way to preserve your delicious jams just by taking advantage of gravity and heat! photos by Coco Zordan
Vitamins contained by a Peach |
| Vitamin A | 9% | Vitamin C | 16% |
| Calcium | 0% | Iron | 2% |
| Vitamin D | 0% | Vitamin B-6 | 0% |
| Vitamin B-12 | 0% | Magnesium | 3% |


An easy way to preserve your delicious jams just by taking advantage of gravity and heat! photos by Coco Zordan
Vitamins contained by a Peach |
| Vitamin A | 9% | Vitamin C | 16% |
| Calcium | 0% | Iron | 2% |
| Vitamin D | 0% | Vitamin B-6 | 0% |
| Vitamin B-12 | 0% | Magnesium | 3% |
6 jars
20 min.
60/90
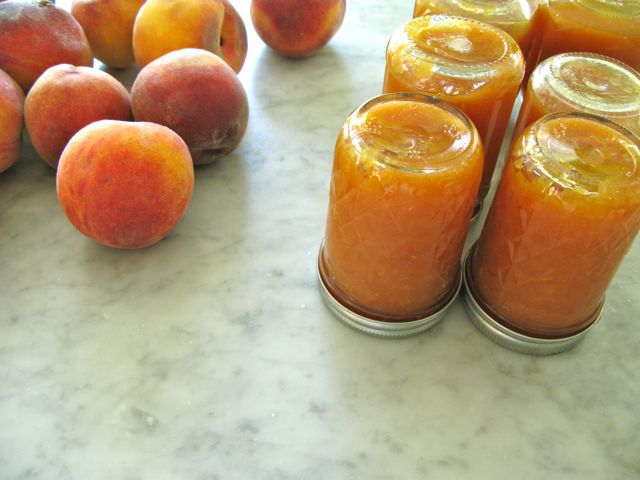
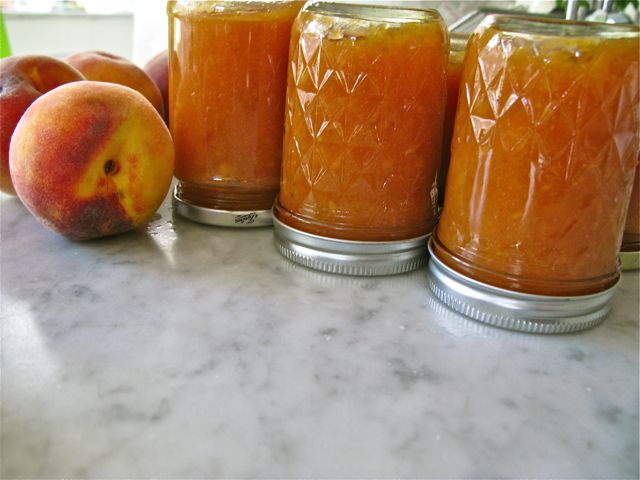
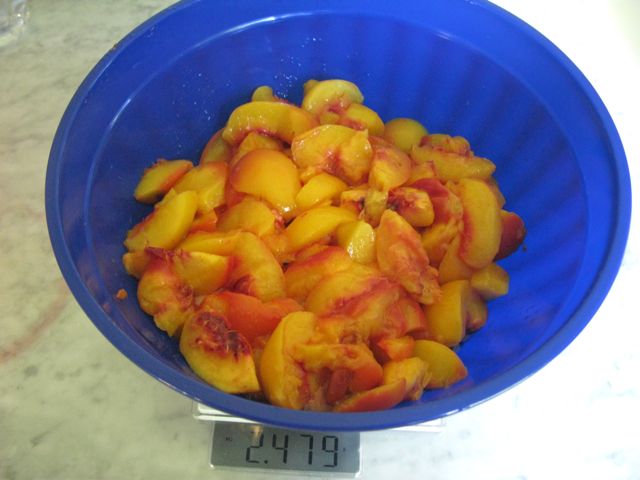
ripe yellow peaches about 3 lb (pitted and peeled)
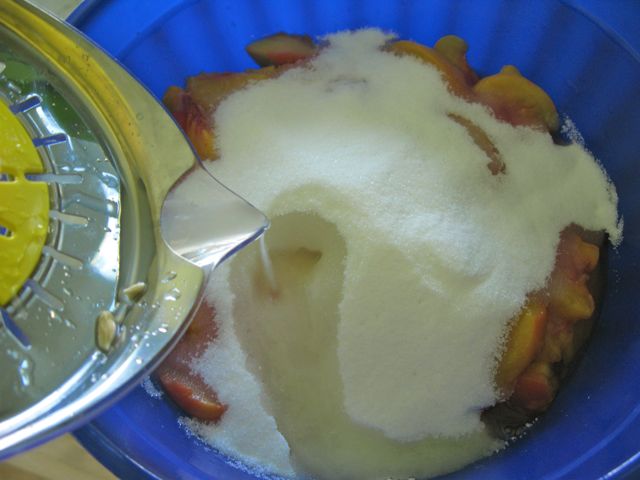
sugar 2 or 3 cups granulated sugar (to taste)
lemon juice 1 lemon
vanilla extract 1/2 tsp
CERTO Sure-Jell pectin (liquid fruit pectin) 1 Tbs
before starting make it sure your jars are clean: see how to clean jars*(scroll down)
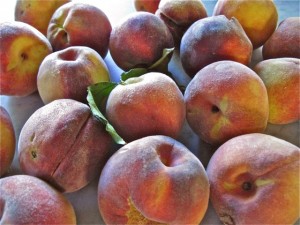


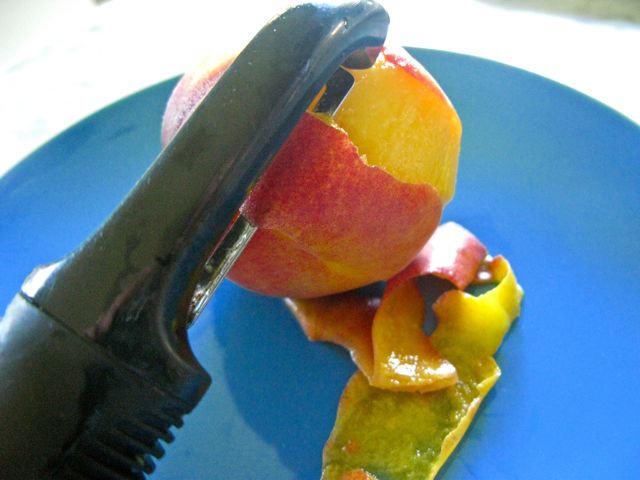
Wash and peel the peaches. There are 2 ways to peel the peaches.
Method 1) if the peaches are hard enough you can use a peeler,
Method 2) you can boil them in water for 5 minutes, or until the skin starts to break and to peel off. Let them cool down and remove skin.

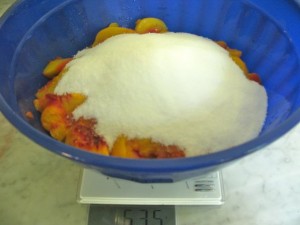

cut peaches in small pieces, add sugar, and lemon juice.
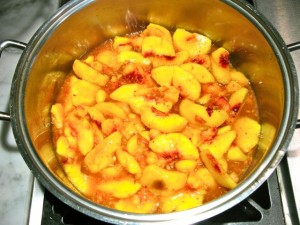

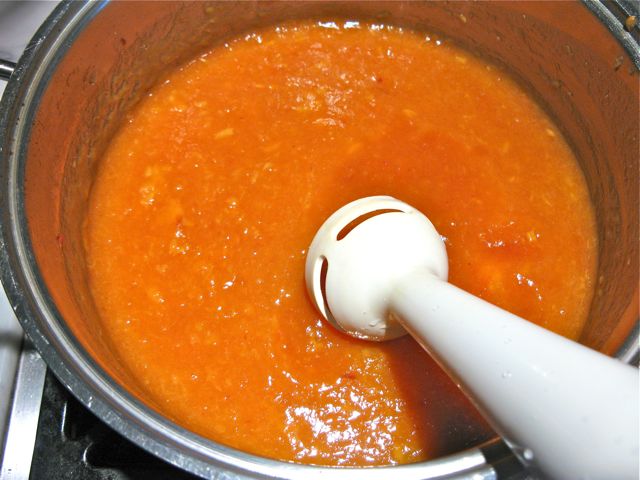
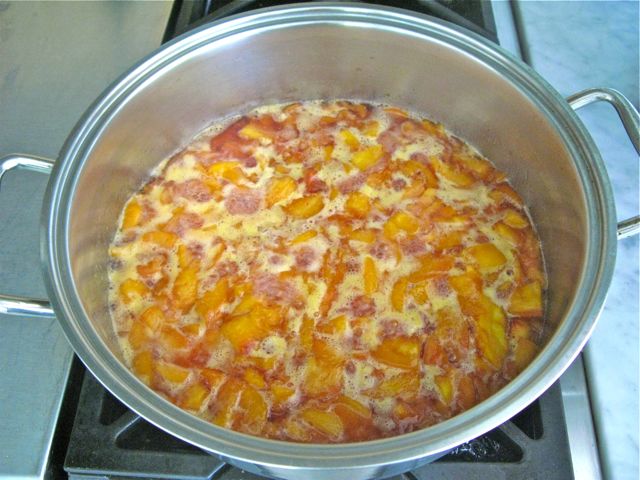
In a pot pour the peaches with the sugar, add extract and pectin, and let simmer as long as it takes to evaporate some of the watery juice (about 30/40 minutes). Use an immersion blender to break up the bigger chunks but don’t puree the jam too much if you like your jam with some chunks of fruit.
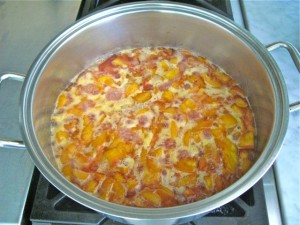
The jam is ready when it sticks to a spoon.

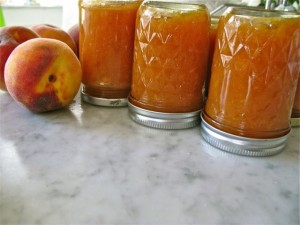

with the help of a big spoon pour the jam (while still hot ) directly into your clean jars. I usually keep the gas on at the lowest until the pan is empty.
Turn firmly the lids and turn the jars upside down. Keep them tilted until they cool down completely (I leave them tilted for about 24 hours). When the lid does not pop, or move up and down, then the jar is sealed. Your jam will last at least one year or longer. Similarly to any other jam once opened you should keep it refrigerated. Buon Appetito with your delicious Home-Made Peach Jam!
———————————————————————————————————
* How to Sterilize your Jars
Dishwasher Method
This method is great if you’re short on time. Wash the jars in the dishwasher and then simply leave them there until ready to fill. Keeping the door to the dishwasher closed keeps in the steam and heat. Remove the jars a couple at a time as needed
Stove Top Method
Steamer Method
While you’re making jam, place your jars upside down on a steamer for at least 10 minutes . Fill them still hot. Remember to wear gloves.
Oven Method

